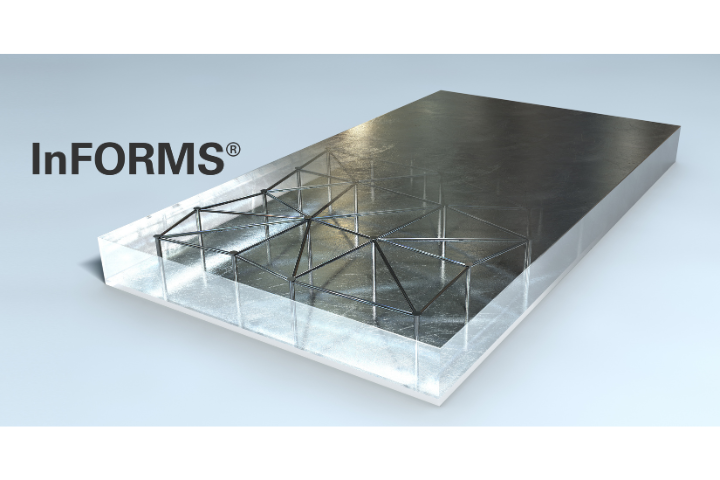
I’m going to let the PoP Interconnect Spacers data sheet do the technical explanation here, but I’ve gotta say these spacers have quite a future ahead of them. The most exiting thing is that we are finding more and more ‘off the beaten path’ applications for Package-on-Package spacers every day. Package-on-Package spacers can be used as standoff fixtures during reflow for certain types of assemblies, or help reduce warpage effects with flexible substrates. These spacers are finding their way into all kinds of interesting products!
Package-on-Package Spacers
Indium Corporation Blogging Team
Our blogging team includes engineers, researchers, product specialists, and industry leaders. We share expertise in solder materials, electronics assembly, thermal management, and advanced manufacturing. Our blog offers insights, technical knowledge, and solutions to inspire professionals, showcasing product innovations, trends, and best practices to help readers excel in a competitive industry.