Over the last few years, miniaturization, and the drive for increased yields and lower defect rates, have forced the electronics manufacturing industry to focus more on the printing process to obtain fewer end-of-line defects and higher quality. This has raised the question, "What are the optimal printer settings?" This is difficult to answer due to the complexity of the process and the unique needs of each individual build. In other words, there is not a one-size-fits-all answer for this question. If there was, there wouldn’t be much of a need for highly-skilled process engineers. Each product build should be optimized for the needs of the particular product being built. The only way to do so is to take the time before production begins and optimize each setting separately.
Here is a list of the typical printer settings that influence the performance of the solder paste and the transfer efficiency and/or volumetric variability. Experiments can be performed to optimize each to achieve the best results for the product that is being built.
Squeegee Speed: Depends on the solder paste being used and the line speed demands. Squeegee speeds should be optimized for each product so that the line speeds can be met and the best transfer efficiency of the paste is achieved. Typically the setting should be at the slowest speed the line throughput can manage. Certain solder pastes were designed for faster squeegee speeds and can not only handle the higher speeds but the transfer efficiency performance is actually better at higher speeds. Build characteristics such as, but not limited to, board designs, stencil designs, throughput requirements, etc., may require slower or faster speeds.
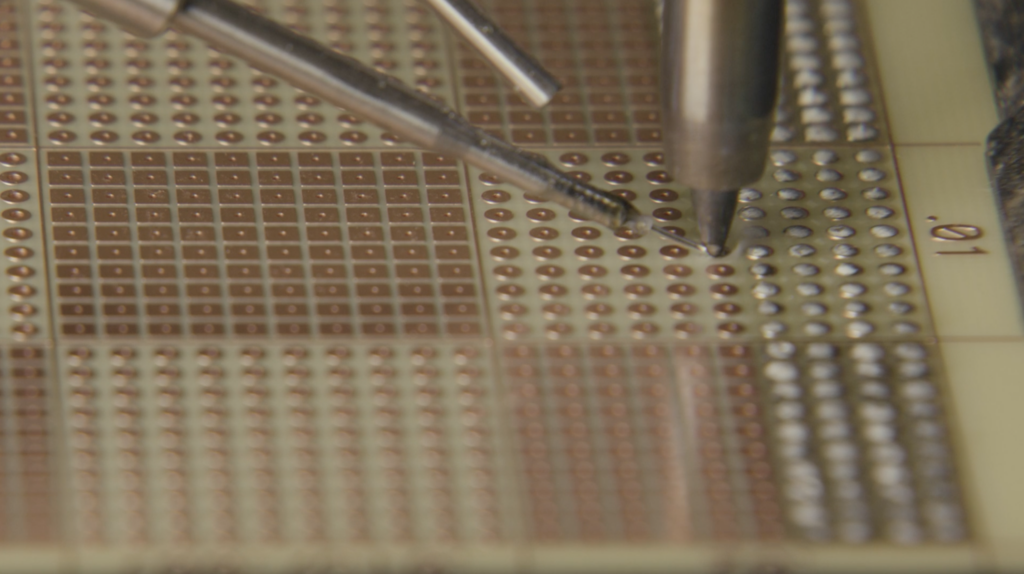
Squeegee Pressure: Should be optimized so that the least amount of pressure is used where the squeegees produce a clean wipe of the stencil. This will depend on the stencil being used, the squeegees (age, angle, flex, metal, etc…), and a number of other factors.
Squeegee Length: should be approximately 1” longer than the area of the apertures on the stencil. Squeegee edge guards should be used to hold the paste within the printed area.
Snap-Off Distance: Does not matter much as long as the solder paste clears the stencil. 2mm is a typical setting.
Separation Speed: The print quality can be optimized with a small separation speed DOE. Small apertures will typically perform differently than large apertures with regard to transfer efficiency. Optimization should be performed considering the performance of the smaller apertures because these will be your most critical apertures for solder volume. Larger apertures typically have a higher tolerance for volume variability.
Separation Delay: Can sometimes aid in transfer efficiency. A Separation delay can help because it gives the paste a bit more time to grab onto the board/pad before the board is pulled from the stencil. However, you could say the same for the stencil aperture walls. Unless a DOE proving there is a benefit is performed the separation delay should be left at 0 seconds.
Print Gap: Should be set at 0mm. If there is a need for a print gap there is something else in the printer and/or process that is not set-up or calibrated correctly.
Offsets: Should be set at 0mm. If there is a need for an offset there is something else in the printer/process that is not set-up or calibrated correctly or the board was not built correctly.
Under-Stencil Wipe Frequency: Should be optimized for the process/product requirements. If your printer set-up is inadequate you will have to wipe more frequently. It will also depend on the line throughput that is needed and the solder paste used in the process.
Under-Stencil Wipe Type: This has been vastly debated. For many processes, a dry wipe is adequate. Some people prefer a dry/vacuum or a wet/dry/vacuum wipe and there are a vast array of other possibilities. If a wet wipe is used the solvent that is being used should be compatible with the solder paste that is being used.
Under-Stencil Wipe Solvent: This depends on the solder paste being used. It is absolutely necessary to discuss with the solder paste supplier and solvent supplier to make sure that the solvent will clean the solder paste from the stencil properly. Most cleaning solvent supplier will have run testing to determine the appropriate cleaning solvent for each solder paste.
Optimize the process and then lock in the details for that specific process/product. Be careful locking yourself into too tight of a process though.